
Notice
Recent Posts
Recent Comments
Link
| 일 | 월 | 화 | 수 | 목 | 금 | 토 |
|---|---|---|---|---|---|---|
| 1 | 2 | 3 | ||||
| 4 | 5 | 6 | 7 | 8 | 9 | 10 |
| 11 | 12 | 13 | 14 | 15 | 16 | 17 |
| 18 | 19 | 20 | 21 | 22 | 23 | 24 |
| 25 | 26 | 27 | 28 | 29 | 30 | 31 |
Tags
- MVMM
- 코딩테스트
- 환급챌린지
- ios
- 패캠챌린지
- 스위프트
- 패스트캠퍼스후기
- Components
- JavaScript
- 직장인자기계발
- 연결리스트삽입
- 수강료0원챌린지
- swift
- 이벤트버블링
- 사이드프로젝트10개기술스택으로구현하는풀스택서버리스프로젝트withReact
- 패스트캠퍼스
- stopPropagation
- eventbubbling
- 직장인인강
- 프로그래머스
- 이벤트캡처링
- 연결리스트생성
- 패캠인강후기
- 오공완
- 자료구조
- HTML
- eventcapturing
- 실패율
- hig
- 연결리스트삭제
Archives
- Today
- Total
날쌘 개발자
프로젝트 구현(4) - 그룹 컴포넌트 구현(1) : 테스트 코드 본문
728x90
패스트캠퍼스 환급챌린지
19일차 화이팅 ~.~
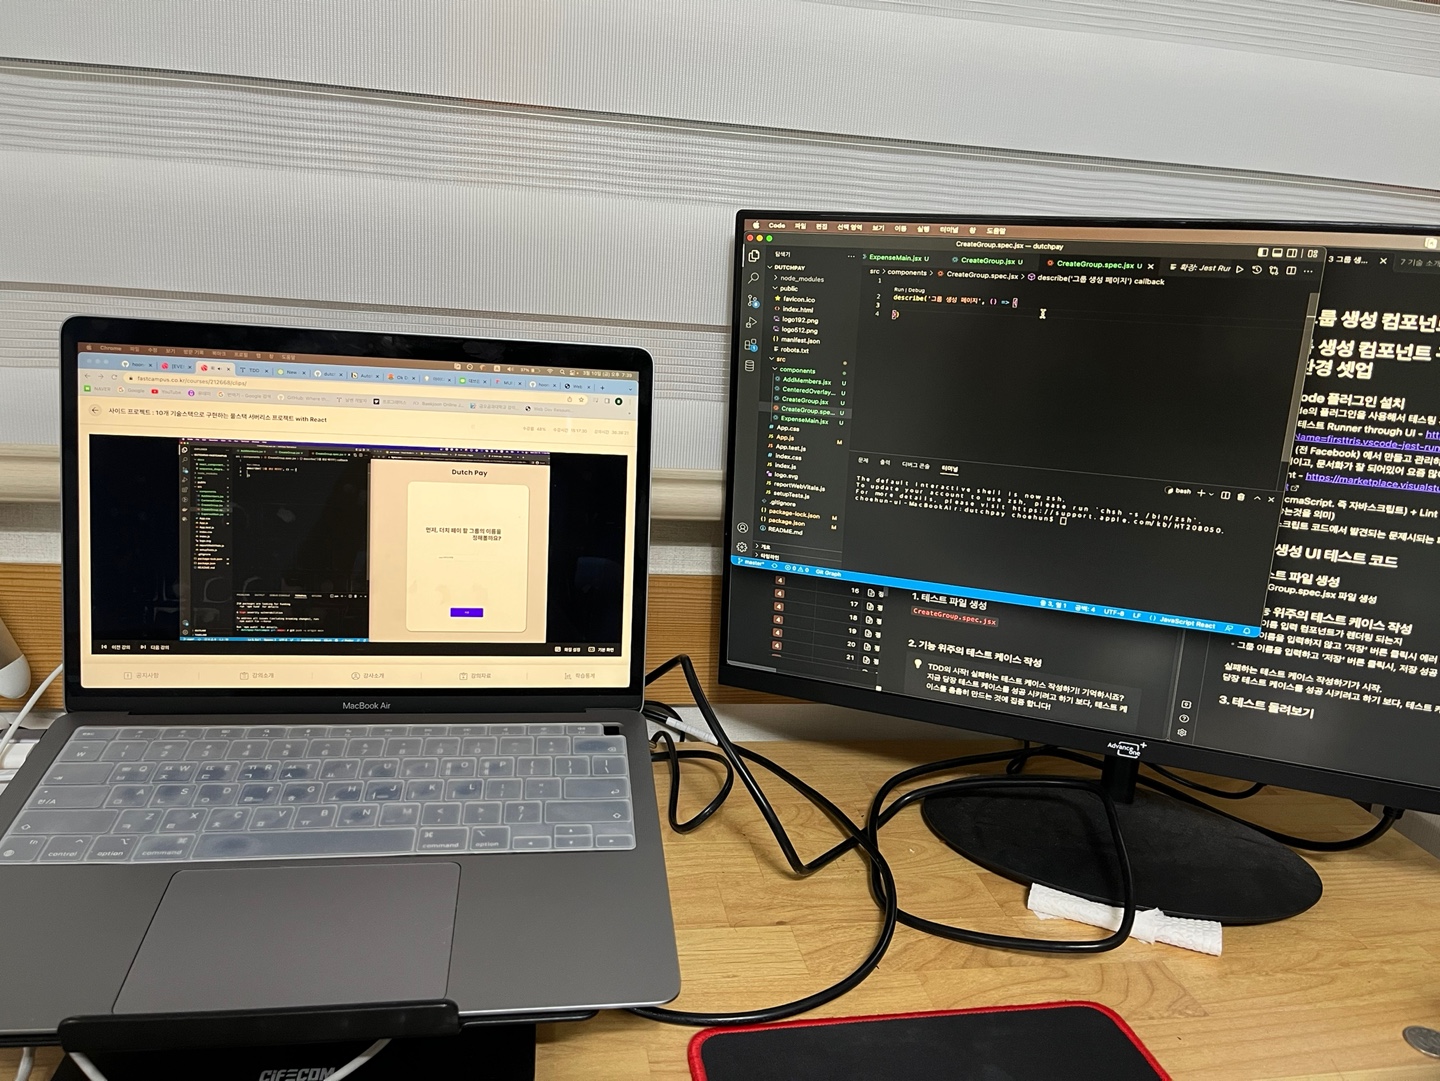
그룹 생성 컴포넌트 구현 (1) - UI 테스트 코드 및 테스팅 환경 셋업
VS Code 플러그인 설치
VS Code의 플러그인을 사용해서 테스팅 환경을 만들어보자
- Jest 테스트 Runner through UI - https://marketplace.visualstudio.com/items?itemName=firsttris.vscode-jest-runner
Meta (전 Facebook) 에서 만들고 관리하는 자바스크립트 테스팅 라이브러리. 테스트 코드의 모양이 직관적이고, 문서화가 잘 되어있어 요즘 많이 활용되고 있다고 한다. - ESLint - https://marketplace.visualstudio.com/items?itemName=dbaeumer.vscode-eslint
ES (EcmaScript. 즉 자바스크립트) + Lint (보푸라기. 프로그래밍에서는 에러가 있는 코드에 표시를 달아놓는것을 의미)
자바스크립트 코드에서 발견되는 문제시되는 패턴들을 식별하기 위한, 정적 코드 분석 도구.
그룹 생성 UI 테스트 코드
1. 테스트 파일 생성
CreateGroup.spec.jsx 파일 생성
2. 기능 위주의 테스트 케이스 작성
- 그룹 이름 입력 컴포넌트가 렌더링 되는지
- 그룹 이름을 입력하지 않고 '저장' 버튼 클릭시 에러 메시지 노출
- 그룹 이름을 입력하고 '저장' 버튼 클릭시, 저장 성공
실패하는 테스트 케이스 작성하기가 시작.
당장 테스트 케이스를 성공 시키려고 하기 보다, 테스트 케이스를 촘촘히 만드는것에 집중하기
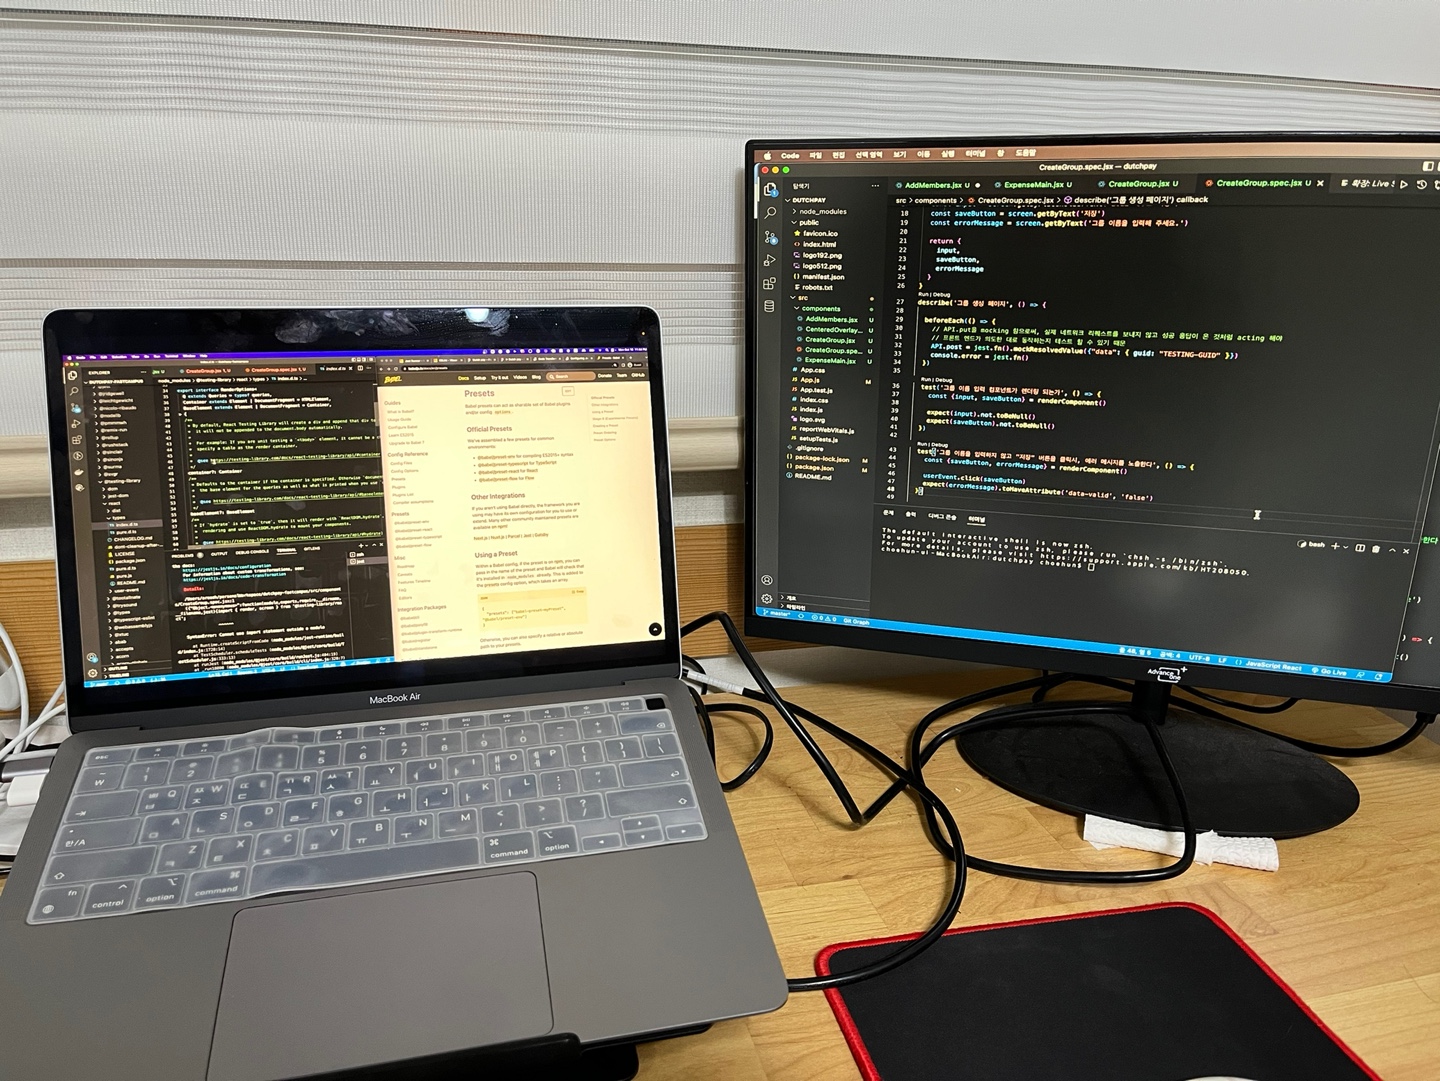
CreateGroup.spec.jsx
import { render } from "@testing-library/react"

import { CreateGroup } from "./CreateGroup"


const renderComponent = () => {

render(<CreateGroup />)

}


describe('그룹 생성 페이지', () => {


test('그룹 이름 입력 컴포넌트가 렌더링 되는가', () => {

// test: input component

// todo: save button

})


test('그룹 이름을 입력하지 않고 "저장" 버튼을 클릭 시, 에러 메시지를 노출',() => {


})


test('그룹 이름을 입력 후, "저장" 버튼을 클릭 시, 저장 성공 ',() => {


})


})
test('그룹 이름 입력 컴포넌트가 렌더링 되는가', () => {
renderComponent()
// test: input component
const input = screen.getByPlaceholderText('2022 제주도 여행')
expect(input).not.toBeNull()
// todo: save button
const saveButton = screen.getByText('저장')
expect(saveButton).not.toBeNull()
})
test('그룹 이름을 입력하지 않고 "저장" 버튼을 클릭 시, 에러 메시지를 노출', async () => {
const saveButton = screen.getByText('저장')
await userEvent.click(saveButton)
})최종 테스트코드
import { render, screen, waitFor } from '@testing-library/react';

import userEvent from '@testing-library/user-event';

import { RecoilRoot } from 'recoil';

import { CreateGroup } from './CreateGroup';

import { API } from "aws-amplify"

import { BrowserRouter } from 'react-router-dom';

const renderComponent = () => {

render(

<BrowserRouter>

<RecoilRoot>

<CreateGroup />

</RecoilRoot>

</BrowserRouter>

)

const input = screen.getByPlaceholderText('2022 제주도 여행')

const saveButton = screen.getByText('저장')

const errorMessage = screen.getByText('그룹 이름을 입력해 주세요.')

return {

input,

saveButton,

errorMessage

}

}

describe('그룹 생성 페이지', () => {

beforeEach(() => {

// API.put을 mocking 함으로써, 실제 네트워크 리퀘스트를 보내지 않고 성공 응답이 온 것처럼 acting 해야

// 프론트 엔드가 의도한 대로 동작하는지 테스트 할 수 있기 때문

API.post = jest.fn().mockResolvedValue({"data": { guid: "TESTING-GUID" }})

console.error = jest.fn()

})

test('그룹 이름 입력 컴포넌트가 렌더링 되는가', () => {

const {input, saveButton} = renderComponent()

expect(input).not.toBeNull()

expect(saveButton).not.toBeNull()

})

test('그룹 이름을 입력하지 않고 "저장" 버튼을 클릭시, 에러 메시지를 노출한다', () => {

const {saveButton, errorMessage} = renderComponent()

userEvent.click(saveButton)

expect(errorMessage).toHaveAttribute('data-valid', 'false')

})

test('그룹 이름을 입력 후, "저장" 버튼을 클릭시, 저장 성공', async () => {

const {input, saveButton, errorMessage} = renderComponent()

userEvent.type(input, '예시 그룹명')

userEvent.click(saveButton)

await waitFor(() => {

expect(errorMessage).toHaveAttribute('data-valid', 'true')

})

})

})
3. 테스트 돌려보기
개인적으로 테스트 주도 개발은 겪어 본적이 없기도 하고, 많이 낯설기도 해서 일단 이런게 있다, 이런 느낌이다 라는 느낌으로 들어놓고, 나중에 따로 개인적으로 공부하는 시간을 가져야 겠다는 생각이 들었다.
일단 따로 하고있는 프로젝트가 급해서 내일은 레이아웃을 복습 한 후 컴포넌트 구현부분을 공부할 예정..
본 포스팅은 패스트캠퍼스 환급 챌린지 참여를 위해 작성되었습니다.
패스트캠퍼스 [직장인 실무교육]
프로그래밍, 영상편집, UX/UI, 마케팅, 데이터 분석, 엑셀강의, The RED, 국비지원, 기업교육, 서비스 제공.
fastcampus.co.kr
728x90
'web > 챌린지' 카테고리의 다른 글
| 프로젝트 구현(6) - 그룹 컴포넌트 구현(3) : Styling (0) | 2023.03.12 |
|---|---|
| 프로젝트 구현(5) - 그룹 컴포넌트 구현(2) (0) | 2023.03.11 |
| 프로젝트 구현(3) - 레이아웃 구현(3) : CSS flex (0) | 2023.03.09 |
| 프로젝트 구현(2) - 레이아웃 구현(2) : Bootstrap layout (0) | 2023.03.08 |
| 프로젝트 구현(1) - 개발환경 구축 + 레이아웃 구현(1) (0) | 2023.03.07 |
'web/챌린지' Related Articles
more


