
Notice
Recent Posts
Recent Comments
Link
| 일 | 월 | 화 | 수 | 목 | 금 | 토 |
|---|---|---|---|---|---|---|
| 1 | 2 | 3 | ||||
| 4 | 5 | 6 | 7 | 8 | 9 | 10 |
| 11 | 12 | 13 | 14 | 15 | 16 | 17 |
| 18 | 19 | 20 | 21 | 22 | 23 | 24 |
| 25 | 26 | 27 | 28 | 29 | 30 | 31 |
Tags
- 오공완
- 패스트캠퍼스후기
- MVMM
- 연결리스트생성
- 패스트캠퍼스
- 연결리스트삽입
- 직장인인강
- HTML
- 패캠인강후기
- eventcapturing
- 수강료0원챌린지
- 환급챌린지
- 이벤트버블링
- hig
- stopPropagation
- Components
- 실패율
- 프로그래머스
- 직장인자기계발
- JavaScript
- ios
- 사이드프로젝트10개기술스택으로구현하는풀스택서버리스프로젝트withReact
- 연결리스트삭제
- eventbubbling
- 코딩테스트
- 스위프트
- 패캠챌린지
- swift
- 자료구조
- 이벤트캡처링
Archives
- Today
- Total
날쌘 개발자
프로젝트 구현(8) - 비용 입력 컴포넌트 구현(1) : 테스트 코드 본문
728x90
패스트캠퍼스 환급챌린지
26일차 화이팅
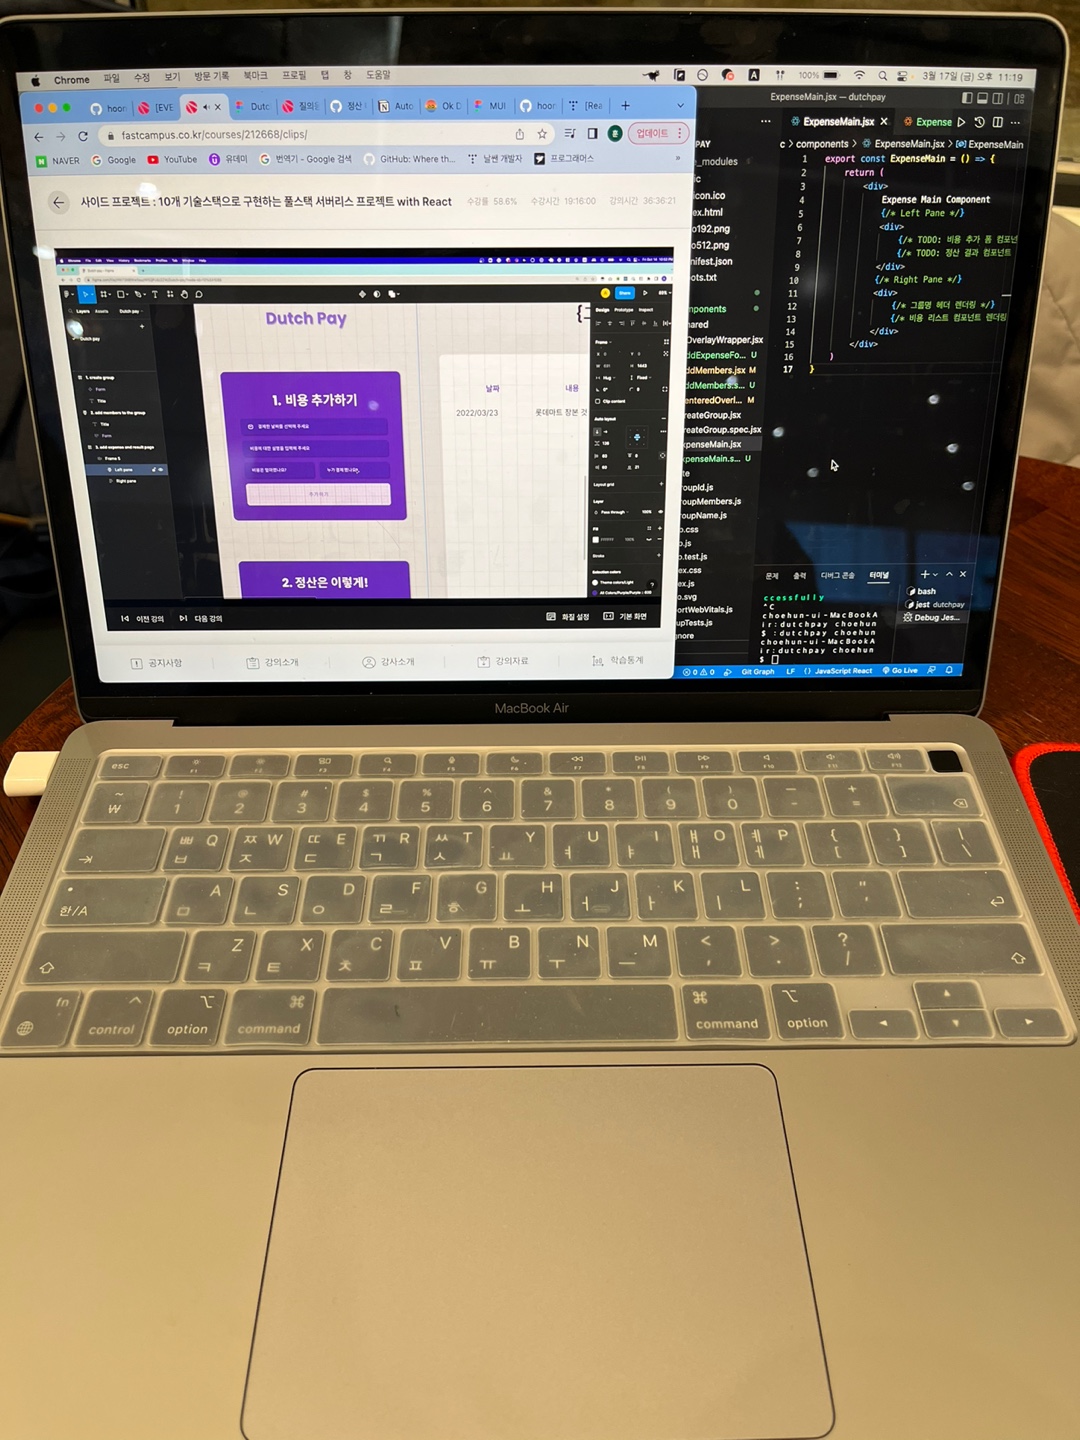
오늘은 가장 중요한 기능 중 하나인 비용 정산의 메인페이지 컴포넌트를 테스트하는 테스트파일을 공부해보도록 하겠다.
먼저 ExpenseMain.jsx
export const ExpenseMain = () => {
    return (
        <div>
            Expense Main Component
            {/* Left Pane */}
            <div>
                {/* TODO: 비용 추가 폼 컴포넌트 렌더링 */}
                {/* TODO: 정산 결과 컴포넌트 렌더링 */}
            </div>
            {/* Right Pane */}
            <div>
                {/* 그룹명 헤더 렌더링 */}
                {/* 비용 리스트 컴포넌트 렌더링 */}
            </div>
        </div>
    )
}
다음은 Jest와 React Testing Library를 활용한 테스트 코드 이다.
ExpenseMain.spec.jsx
import { render, screen } from "@testing-library/react"
import userEvent from "@testing-library/user-event"
import { RecoilRoot } from "recoil"
import { groupMembersState } from "../state/groupMembers"
import { ExpenseMain } from "./ExpenseMain"
const renderComponent = () => {
render(
<RecoilRoot initializeState={(snap) => {
snap.set(groupMembersState, ['영수', '영희'])
}}>
<ExpenseMain />
</RecoilRoot>
)
const dateInput = screen.getByPlaceholderText(/결제한 날짜/i)
const descInput = screen.getByPlaceholderText(/비용에 대한 설명/i)
const amountInput = screen.getByPlaceholderText(/비용은 얼마/i)
const payerInput = screen.getByDisplayValue(/누가 결제/i)
const addButton = screen.getByText('추가하기')
const descErrorMessage = screen.getByText('비용 내용을 입력해 주셔야 합니다.')
const payerErrorMessage = screen.getByText('결제자를 선택해 주셔야 합니다.')
const amountErrorMessage = screen.getByText('금액을 입력해 주셔야 합니다.')
return {
dateInput,
descInput,
amountInput,
payerInput,
addButton,
descErrorMessage,
payerErrorMessage,
amountErrorMessage,
}
}
describe('비용 정산 메인 페이지', () => {
describe('비용 추가 컴포넌트', () => {
test('비용 추가 컴포넌트 렌더링', () => {
const {dateInput, descInput, amountInput, payerInput, addButton} = renderComponent()
expect(dateInput).toBeInTheDocument()
expect(descInput).toBeInTheDocument()
expect(amountInput).toBeInTheDocument()
expect(payerInput).toBeInTheDocument()
expect(addButton).toBeInTheDocument()
})
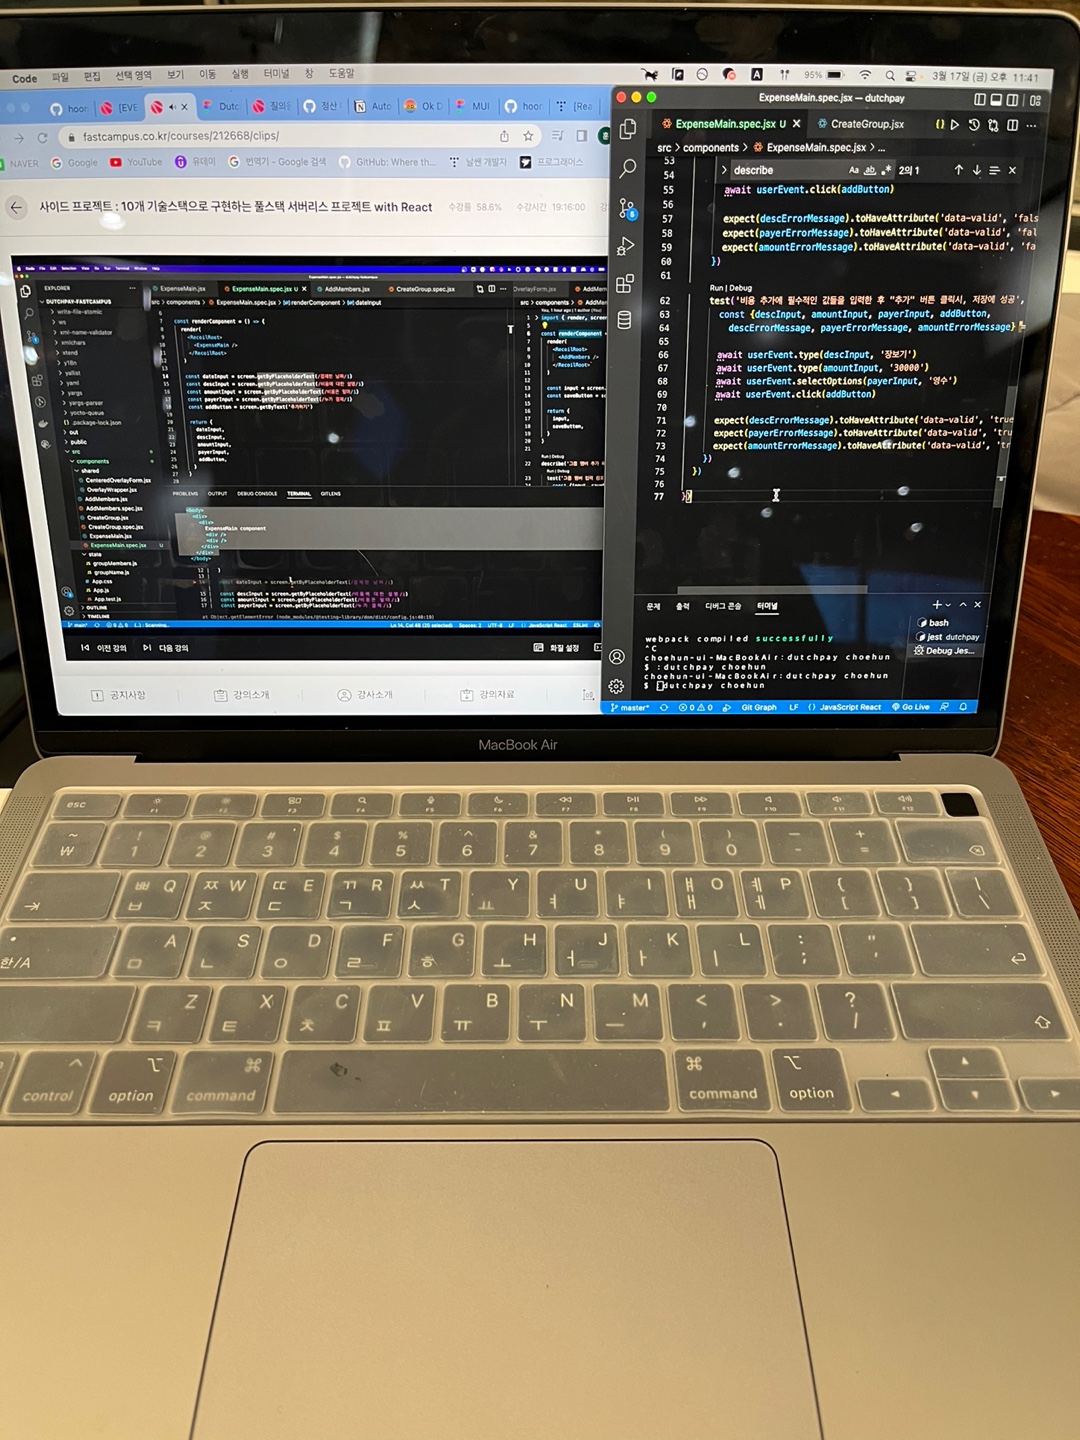
test('비용 추가에 필수적인 값을 입력하지 않고 "추가" 버튼 클릭시, 에러 메시지를 노출한다', async () => {
const {addButton, descErrorMessage, payerErrorMessage, amountErrorMessage} = renderComponent()
expect(addButton).toBeInTheDocument()
await userEvent.click(addButton)
expect(descErrorMessage).toHaveAttribute('data-valid', 'false')
expect(payerErrorMessage).toHaveAttribute('data-valid', 'false')
expect(amountErrorMessage).toHaveAttribute('data-valid', 'false')
})
test('비용 추가에 필수적인 값들을 입력한 후 "추가" 버튼 클릭시, 저장에 성공', async () => {
const {descInput, amountInput, payerInput, addButton,
descErrorMessage, payerErrorMessage, amountErrorMessage} = renderComponent()
await userEvent.type(descInput, '장보기')
await userEvent.type(amountInput, '30000')
await userEvent.selectOptions(payerInput, '영수')
await userEvent.click(addButton)
expect(descErrorMessage).toHaveAttribute('data-valid', 'true')
expect(payerErrorMessage).toHaveAttribute('data-valid', 'true')
expect(amountErrorMessage).toHaveAttribute('data-valid', 'true')
})
})
})
본 포스팅은 패스트캠퍼스 환급 챌린지 참여를 위해 작성되었습니다.
패스트캠퍼스 [직장인 실무교육]
프로그래밍, 영상편집, UX/UI, 마케팅, 데이터 분석, 엑셀강의, The RED, 국비지원, 기업교육, 서비스 제공.
fastcampus.co.kr
728x90
'web > 챌린지' 카테고리의 다른 글
| 프로젝트 구현(10) - 정산 리스트 컴포넌트 : 테스트 코드 (0) | 2023.03.19 |
|---|---|
| 프로젝트 구현(9) - 비용 입력 컴포넌트 구현(2) : 구현 및 스타일링 (0) | 2023.03.18 |
| 서비스 배포(3) - 테스팅 툴 소개 (0) | 2023.03.16 |
| 서비스 배포(2) - 기능 테스트 (0) | 2023.03.15 |
| 서비스 배포(1) - 배포 준비, QA테스팅(1) (0) | 2023.03.14 |
'web/챌린지' Related Articles
more


